mkhexgrid
A fully-configurable hex grid generator
So you want to make a hex grid? To do that, you need to tell mkhexgrid what you want, which can be done in two ways—in a specfile, and with command-line options. Let's see an example: Suppose that you want a 10x10 grid with vertical grain and hexsides 30 pixels long, as a PNG image. To get that, open your favorite text editor (e.g., Vim, Emacs, Notepad) and type the following:
columns = 10
rows = 10
hex-side = 30
grid-grain = v
output = png
outfile = tut1.png
Each line specifies one aspect of the hex grid which will be made. Save what you've typed in a file named spec.txt. This will be your spec file, from which mkhexgrid will read the parameters for your hex grid. You'll want your specfile to be somewhere that mkhexgrid can find it—on Windows, the directory into which you've installed mkhexgrid is a good choice, on Unix mkhexgrid is likely to be in your path if you've installed it, so the location of the specfile is up to you.
Next, you need to run mkhexgrid using the spec file you created. mkhexgrid is a command-line program—it has no graphical interface—so you need to open a shell in order to run it. If you're using Unix, open a terminal to get a shell prompt; on Windows, open a shell by selecting Programs > Accessories > Command Prompt from your Start menu, or by selecting Run… and typing cmd into the dialog box as the program to run.
Now that you have a shell, go to the directory where you put your specfile (if you're not already there) and run mkhexgrid by typing
mkhexgrid spec.txt
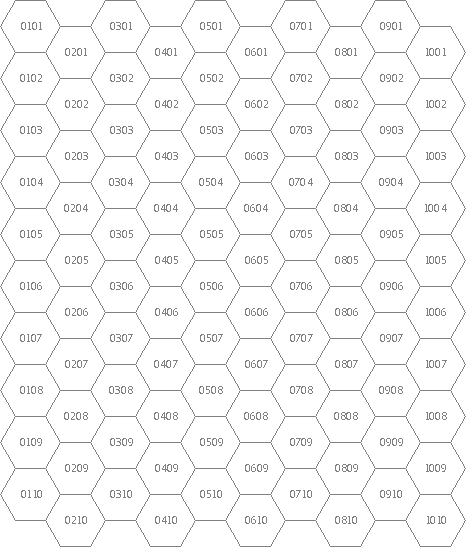
in your shell and pressing return. When the program is finished, you will have a new image file tut1.png which contains the hex grid. It should look like this. The result isn't especially pretty, since it's not antialiased and the hex coordinates are printed in the centers of the hexes. You can improve it a bit by adding the following lines to your specfile:
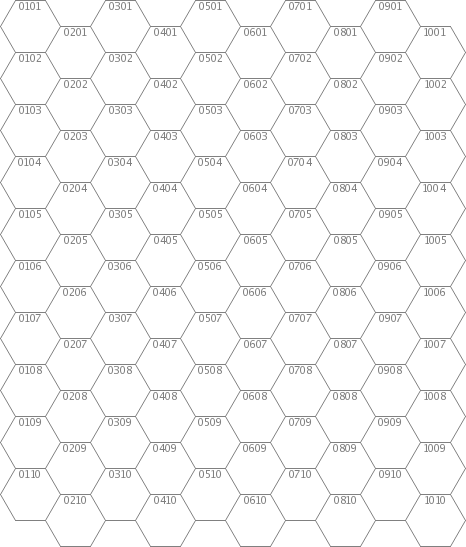
antialias = true
coord-bearing = 90
coord-distance = 20
Antialiasing is turned on, which results in smoother lines and the hex coordinates are moved to the tops of the hexes. You should now see output like this.
Now you've seen the basics of how to use mkhexgrid. Much more is possible than is shown in this tutorial. For more options, see the Reference Manual.